- a shady spot where the moss can grow and establish itself
- a few un-glazed pots. If you can, get them wet the night before. The water will soak into the terra cotta so they're not completely bone dry.
- 2 cups live cultured buttermilk or plain natural yogurt
- a bag of living moss you can find at the nursery (no dye, not preserved)
- a blender
- a few paintbrushes 1-3 inches wide, this assortment works great
- a mister bottle filled with water and/or a garden hose mister attachment like this adjustable watering wand

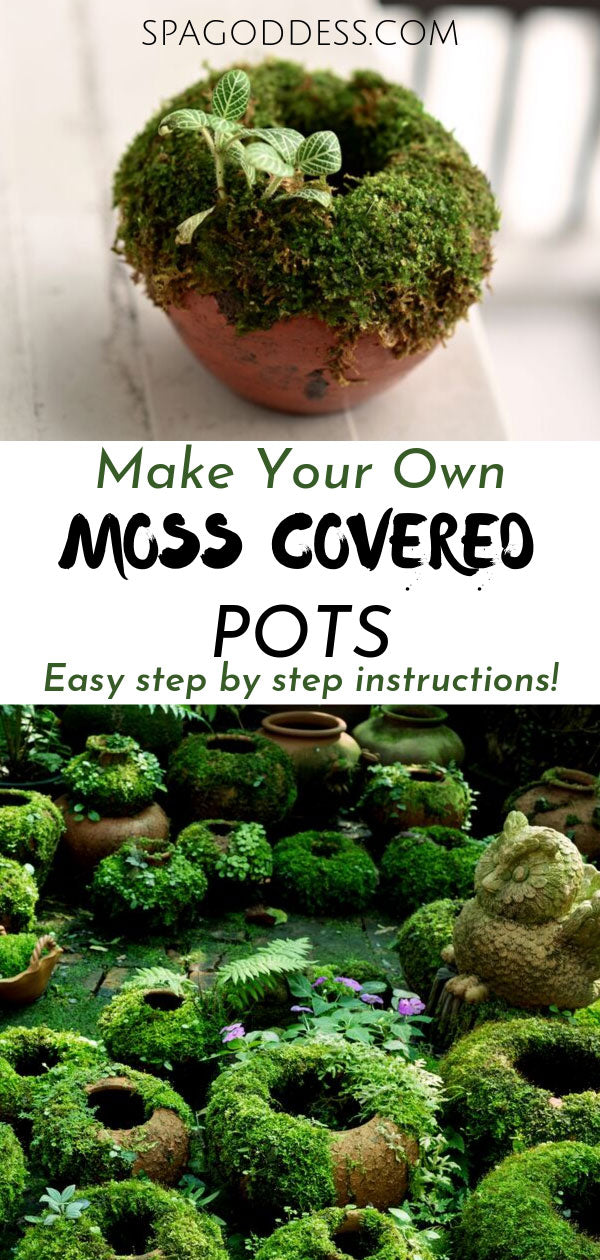
Start by gathering new or used unglazed terra cotta or cement pots that you'd like to see covered in this green mossy life! You can get little creative here because the only limit is that the base be something porous that moss would naturally grow on.
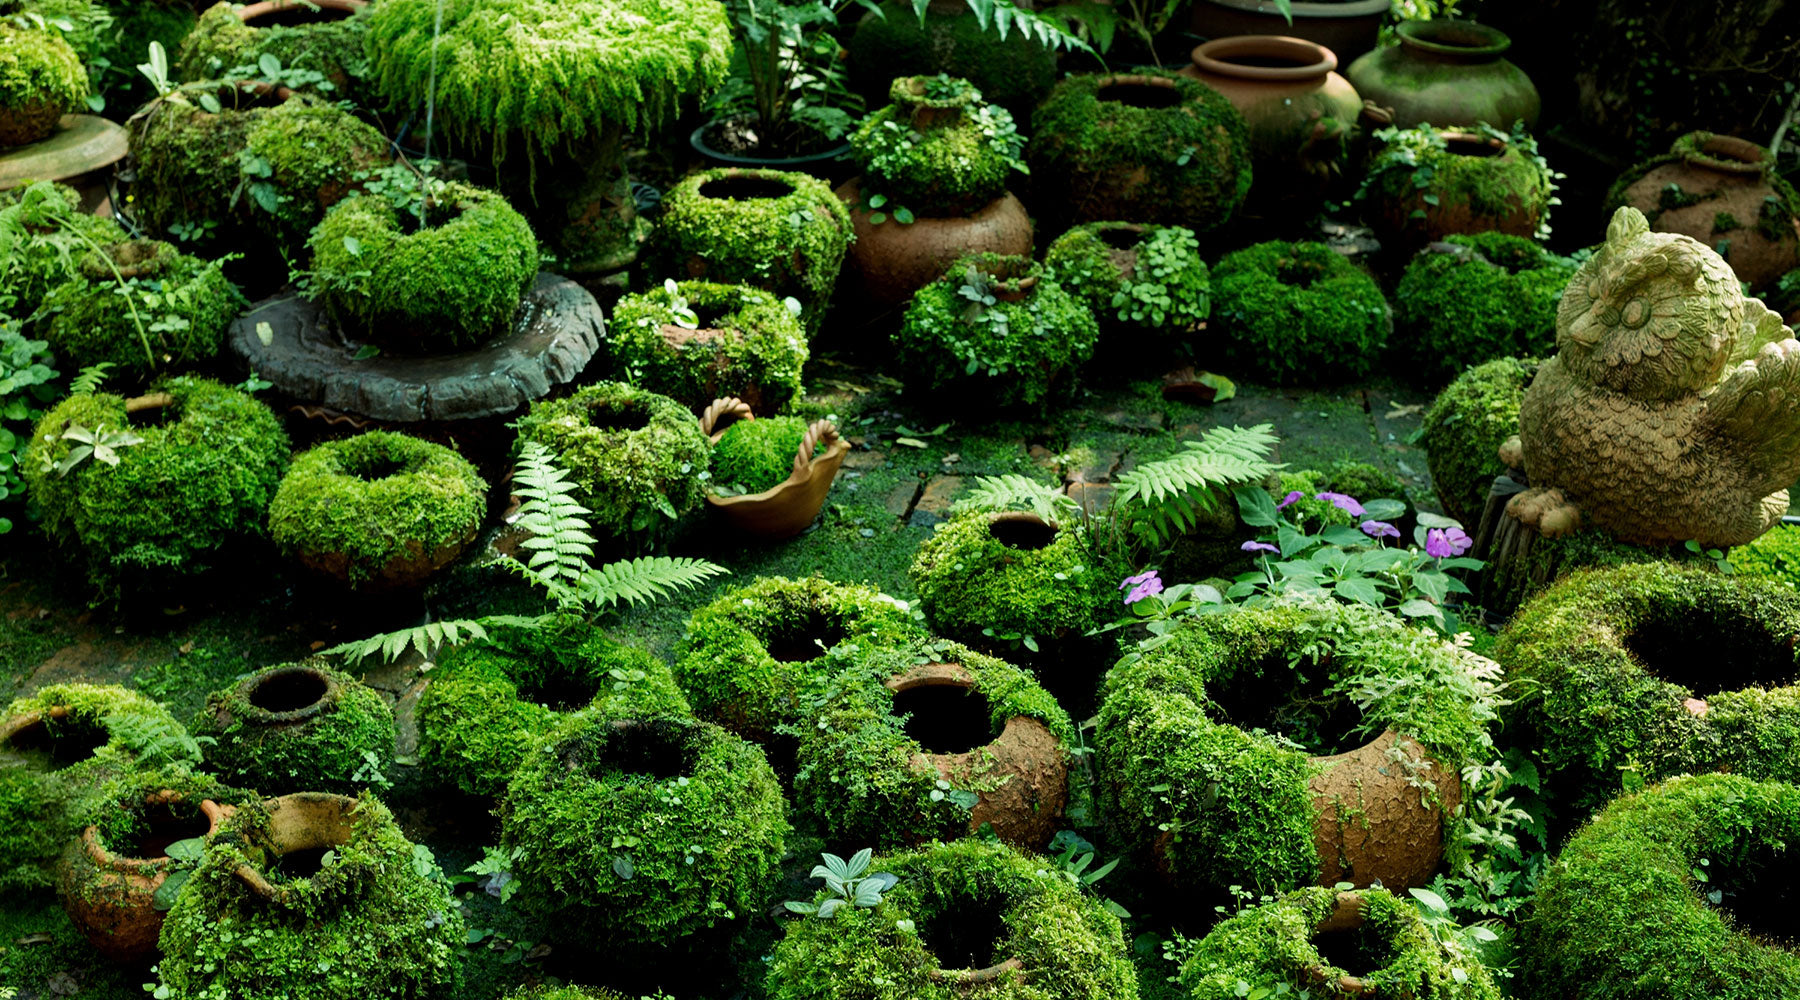
These pictures are great because they show a wide variety of different surfaces that the moss will grow on. You can see how varied your finished pots will look as they become more established with sprouting ferns, impatiens, and other shade-loving volunteers.
Some fun ideas for your base include an interesting shaped rock, driftwood (well-rinsed of saltwater), a figurine like this Roman goddess planter, bird bath, birdhouse, water fountain, high end Modern Zen Garden Sculpture, wooden trellis, garden angel, toadstool, garden gnome, etc. This inexpensive Tribal Head Planter would be really fun cover in moss too.
Just make sure it's either unglazed terra cotta or cement as the moss will not stick to pottery glaze, plastic, or resin.
This is a really fun project to do with kids. It's sort of like making mud pies + gives them permission to get a little dirty, + have something alive to care for. There's so much joy + learning in watching something that you planted grow + transform over time.

Make sure the moss is alive!
You can get this from a nursery, but make sure it's not preserved or dyed from a craft store. We like this all-natural Live Terrarium Assortment because it comes with 4 different varieties of moss which makes the finished pots look super cool and varied like our pictures. If you're going for a more uniform look, with just one kind of moss, we recommend this New Zealand Sphagnum Moss.
This project will work with common moss you may find growing on the shady side of trees, fences or buildings. It's a good idea to ask permission if you want to harvest moss from someone else's property. If it's overgrown they'll probably be happy for to you take it, but you never know 'till you ask!

You can certainly go foraging for wild moss as well. Of course be mindful of what you take and where you take it from. It's good practice to honor the plant and the place it's growing with a deep breath of gratitude and appreciation before harvesting. It's better to take a little bit from several different places, than to remove all of the moss from one spot in a wild ecosystem. Gather your bits of moss from inconspicuous places, and leave the forest looking as lovely as you found it.
Make the Living Paint
Place 2 cups of live moss with 2 cups of live cultured buttermilk or plain yogurt into a blender. Use the pulse button to blend the mix a little at a time until you reach a thick, uniform consistency with bits of moss. You want it to be like carrot cake batter with the bigger chunks, not pulverized to a completely smooth, smoothie texture.
You can pour the paint out into containers or dip your brush straight into the blender. The living paint is gloppy and weird, and fun to slop onto the pots. It's not an exact science, quirks are welcome, and even bring interest to the finished product. As you can see in our pictures, that the areas of the pots left uncovered are super cool.
Moss reproduces by spores or by sending out new shoots from even the smallest pieces. The acidity in the yogurt provides the perfect environment for the moss to grow in as long as it has moisture.
Brush a thick layer onto your un-glazed flower pot. The moisture from the yogurt will soak into the pot helping the moss stick, and give it the moistness it needs to start establishing it's new home more quickly.
Place your painted pots in the shade for the incubation phase. They'll need care over the next 2-3 weeks as the paint grows into a living moss carpet. Gently mist with water at least once per day. You don't want to spray these with a strong stream from a hose as that will dislodge the moss that's starting to grow.

You will see it start to green up in no time, usually about a week to 10 days. This mossy milkshake can actually be painted on any porous surface, like an outdoor fountain or rock wall. It just needs to be kept moist and in the shade to stay green and happy. It will take a while to grow as established as our pictures, expect 6 months in a humid rain forest type climate or about a year in temperate climates.
Expect the results to be perfectly imperfect and enjoy caring for your mossy pots as they grow and evolve over time. Maintain healthy moss by keeping it out of full sun, and keep it moist. If the moss begins to dry or turn brown, you need to mist more frequently.


